Tuesday, August 2, 2011

I was Featured!

My St. Patty's Day Wreath was just featured on a fantastic website called AllFreeHolidayCrafts! Please check it out HERE!

Wednesday, July 13, 2011

Giving What You Can

Like most parents, I am AMAZED by how wonderful my children are. They are so sweet and giving (not always to each other, but we're working on that) and really want to help others! I have been donating to Locks of Love for years now. I basically grow out my hair every 4-5 years and then chop it off and donate. I've been talking about getting ready for my 3rd donation, and my daughter (who's 5 years old) became very interested. I showed her their website and explained why some kiddos don't have hair. Without hesitation, she asked if she could please donate her hair! Now, I was so proud but suprised. My daughter is such a girlie girl and loves being a princess, and in true princess form, she wanted to help others any way that she could. So, I made the appointment and off we went! I think it turned out ADORABLE. And, I'm so proud of the little person that my princess is becoming! Giving what you can doesn't always mean money, sometimes, it just means 10 inches of you hair:)

Getting Ready . . .

Going -

Going -

Gone!

If you're interested in donating to Locks of Love check it out here!

Sunday, July 10, 2011

Personalized Tooth Fairy Pillow

So, what do you do when your oldest little baby gets her first loose tooth? Quickly turn out a tooth fairy pillow of course!


Materials:
A 5 year old ready to lose some teeth
sewing machine/thread
Fabric for the front of the pillow
Fabric for the back of pillow
Ruffle trim
Different fabric swatches for each letter in the child's name
fabric glue
needle and embroidery thread (to hand stitch the letters)
white felt/more embroidery thread
small piece of ribbon for bow on tooth's head (if for a girl)
small buttons for the tooth's eyes
thicker ribbon for trim around tooth


Again, no pattern, no fuss, just lots of sparkle and lots of pink. I drew out an idea and then took my daughter to the fabric store to pick out the fabric that she wanted (it is her pillow after all). Here's what she picked . . . pretty darn good if you ask me! She's AMAZING!


I turned to Martha to get some ideas and fell in love with her cute little tooth with a face, and the site has a tooth template that I used as well. The tooth was made from felt and then I hand stitched the face, sewed on a little pink bow and then sewed little black buttons for eyes. Don't forget the eyelashes;)


My FAVORITE part of the pillow has to be the personalization on the back of the pillow! Not only is it my daughter's name, but it's in her own handwritting! I had her write out her name on paper, and I cut the letters out and then traced them to the back side of the fabric. I then cut out each fabric letter.


To make sure the edges of the letters stayed nice and pretty, I glued them down with fabric glue.


Let the glue dry all the way so that it won't be impossible to hand stitch them to the back of the pillow.


While that dries, I finished the front of the pillow. I handstitched the tooth onto a little square fabric (the same sparkle pink fabric that would make up the back of the pillow). And, remember NOT to sew the top of the tooth to allow for a pocket. The tooth fairy needs somewhere to leave the dough, you know! I then sewed the tooth sqare to the front fabric, and this does not have to be perfect because you will cover the edge with trim. I used some black ribbon to outline the tooth square and sewed it down using matching thread.

Now for the long process of hand stitching all the letters onto the back fabric of the pillow. Time to get a movie going (I went with Moulin Rouge - a personal favorite). . . I'm so happy that my daughter only has four letters in her name:)


Once that is done, it's time to sew the two sides of the pillow togther and add the ruffle trim.


Remember when adding the trim to face the ruffles to the inside fo the pillows and to have the pillows inside out. Does that make sense? Hopefully, this picture helps:)


Sew all around the pillow except a little pocket so that you can turn it right side and have a place to put the stuffing in. Here's the front:


Here's the back:


Now stuff that bad boy, and slip stitch the last little sem.

Finally, we have one happy customer ready to get rich quick by losing some teeth!


And, I love that the pillow is not only personalized, but it's also done in my daughter's handwritting! I LOVE that! I know one day when she's off at medical school (haha), I'll be sitting there remembering how happy she was writting out her name to put on her very own Tooth Fairy Pillow fit for a Princess.


This entry partied today with:


Photobucket


Photobucket

Monday, July 4, 2011

Easy Breezy Maxi Dress


My daughter wanted a new long dress, and I had just the idea to make a cute maxi dress in record time. A while back, I had gone to Hobby Lobby and bought some fabric on clearance that already had smocking. I also purchased some gingam purple and white ribbon, and I already had purple fabric that I had used to make a stocking last Christmas.


Next, I took the purple fabric and sewed it to the bottom of the dress fabric. folded little pleats about a half inch apart (I just eye-balled it, it is just a fun little summer dress), and pinned it down with straight pins. I then sewed it down to make a ruffle.


I then pinned and sewed the ribbon along the dress and ruffle seam.


I then used my daughter as a model to decide where the ribbon straps should go. I basicall eye-balled it and double the length of the ribbon, so it would tie into a nice bow. I then pinned and cut the ribbon in half and sewed it down.


I then pinned and hemmed the bottom of the dress so that it went to my daughter's ankles - again, I just eye-balled it. And, finally, Tah-Dah! The finished product. For under $10, in about an hour, with no pattern and a very happy daughter, I was pretty proud of the dress I was able to make.

Sunday, June 26, 2011

Banana Cream Pie for the Lactose Intolerant

My son is lactose intolerant, so I've been trying a few recipes using lactaid instead of milk or cream. Here is one that turned out really yummy - Lactaid Banana Cream Pie!


Ingredients
1 9-inch pie shells, baked
3 cups Lactaid
3/4 cup white sugar
1/3 cup all-purpose flour
1/4 teaspoon salt 3 egg yolks, slightly beaten
2 tablespoons butter
1 teaspoon vanilla
3 bananas Directions
Have baked 9-inch pie shell ready (I used a store bought and cooked it at 400 degrees for 10 minutes.
Meringue:
4 egg whites
6 tablespoons white sugar

Directions
1. In a large saucepan, scald the Lactaid.
2. In another saucepan, combine the sugar, flour and salt; gradually stir in the scalded Lactaid.
3. Over medium heat, stirring constantly, cook until thickened.
4. Cover and, stirring occasionally, cook for two minutes longer.
5. In a small bowl, have the 3 egg yolks, slightly beaten, ready; stir a small amount of the hot mixture into beaten yolks; when thoroughly combined, stir yolks into hot mixture.
6. Cook for one minute longer, stirring constantly.
7. Remove from heat and blend in the butter and vanilla.
8. Let sit until lukewarm.
9. When ready to pour, slice bananas and scatter in pie shell; pour warm mixture over bananas.
10. For meringue -In a large glass or metal bowl, whip egg whites until foamy. Add sugar gradually, and continue to whip until stiff peaks form. Spread meringue over pie, sealing the edges at the crust. Like this:

11. Bake in preheated oven (350 degrees) for 10 minutes, or until meringue is golden brown

Wednesday, June 15, 2011

Happy Birthday Brenda!

It's my friend Brenda's birthday, and I was very excited to make this fun little cake for her!


It's also my first cake using the new Wilton Sugar Sheets! They were fun and easy to use and the zebra print is pretty cute! I surrounded the cake with glitter cake balls which are triple chocolate - yum!


Happy Birthday, Brenda!

A Father's Day Poem for my Dad

Days go by and we're so far apart
But I can always remember from the start
Where I came from and who I am
And you being there to guide my hand


I've learned a lot from all you do
and here's five things that I got from you


5. You taught me never buy retail
Patience is a virtue and it'll go on sale.


4. I learned to tie a windsor knot (because "it's the best")
And, a girl who can tie a man's tie is a little cooler than the rest.


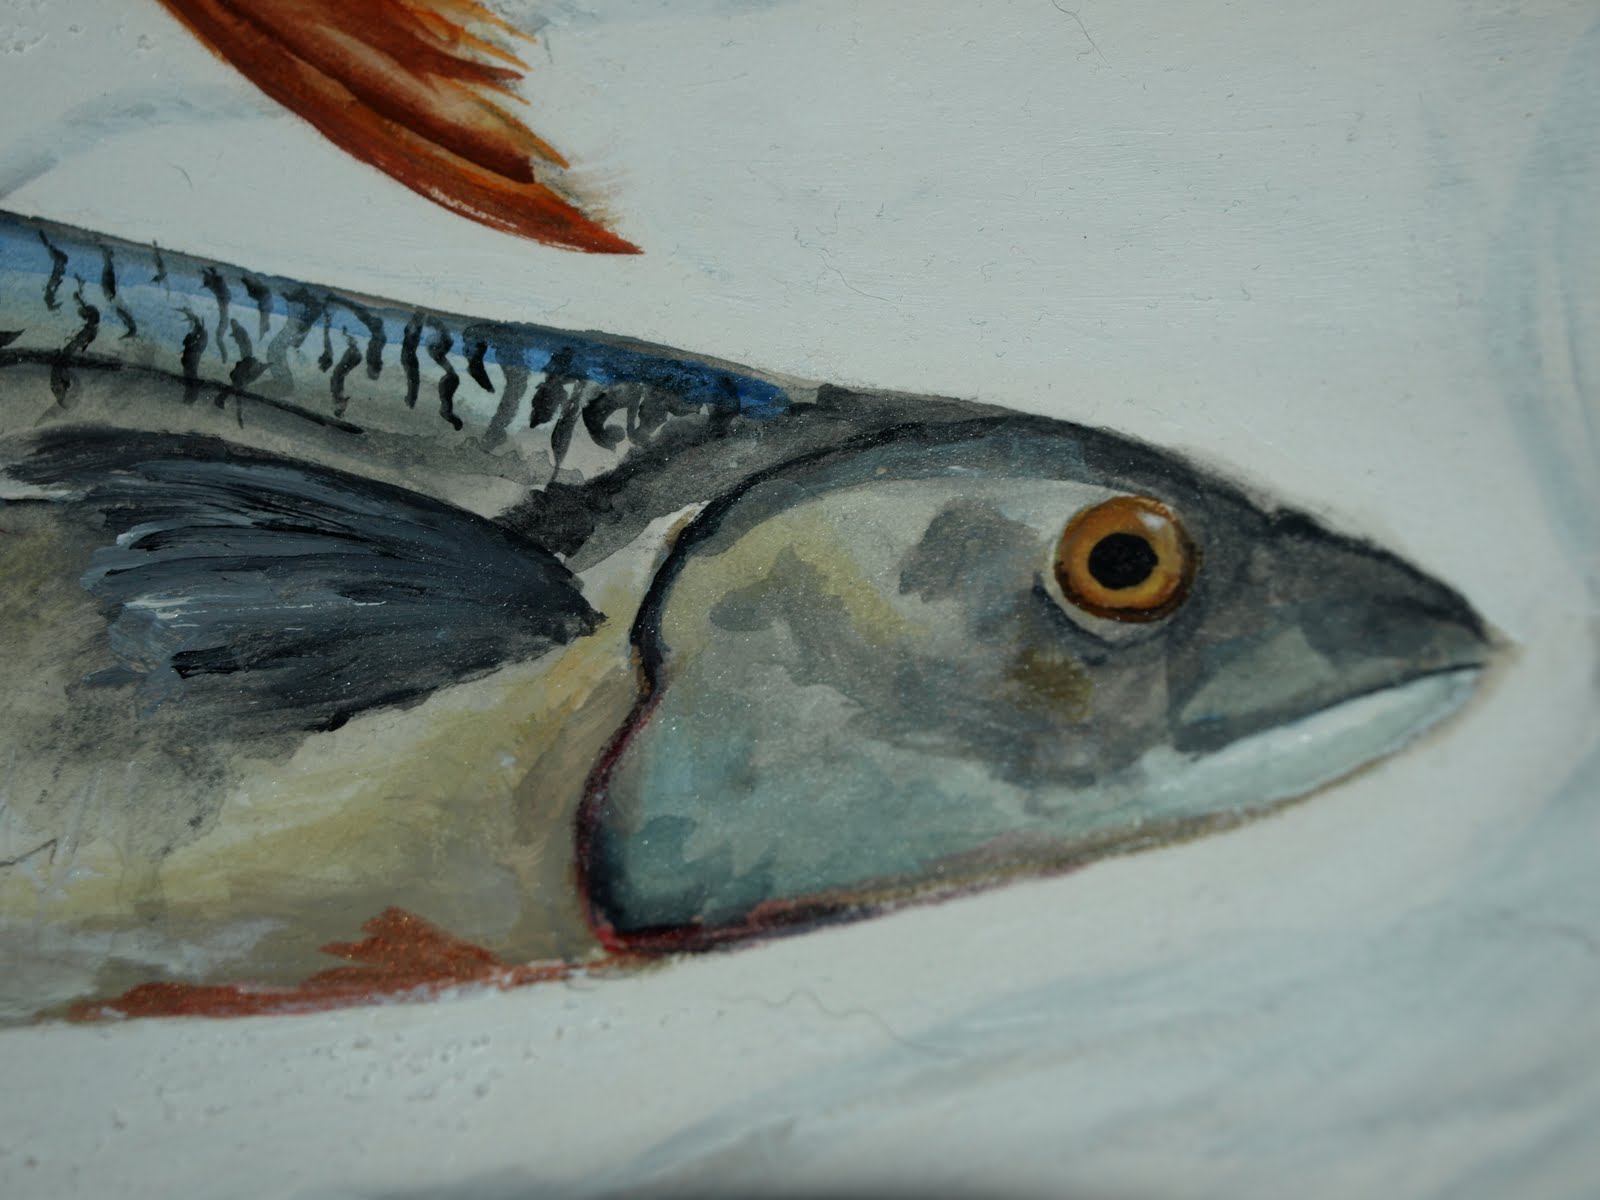
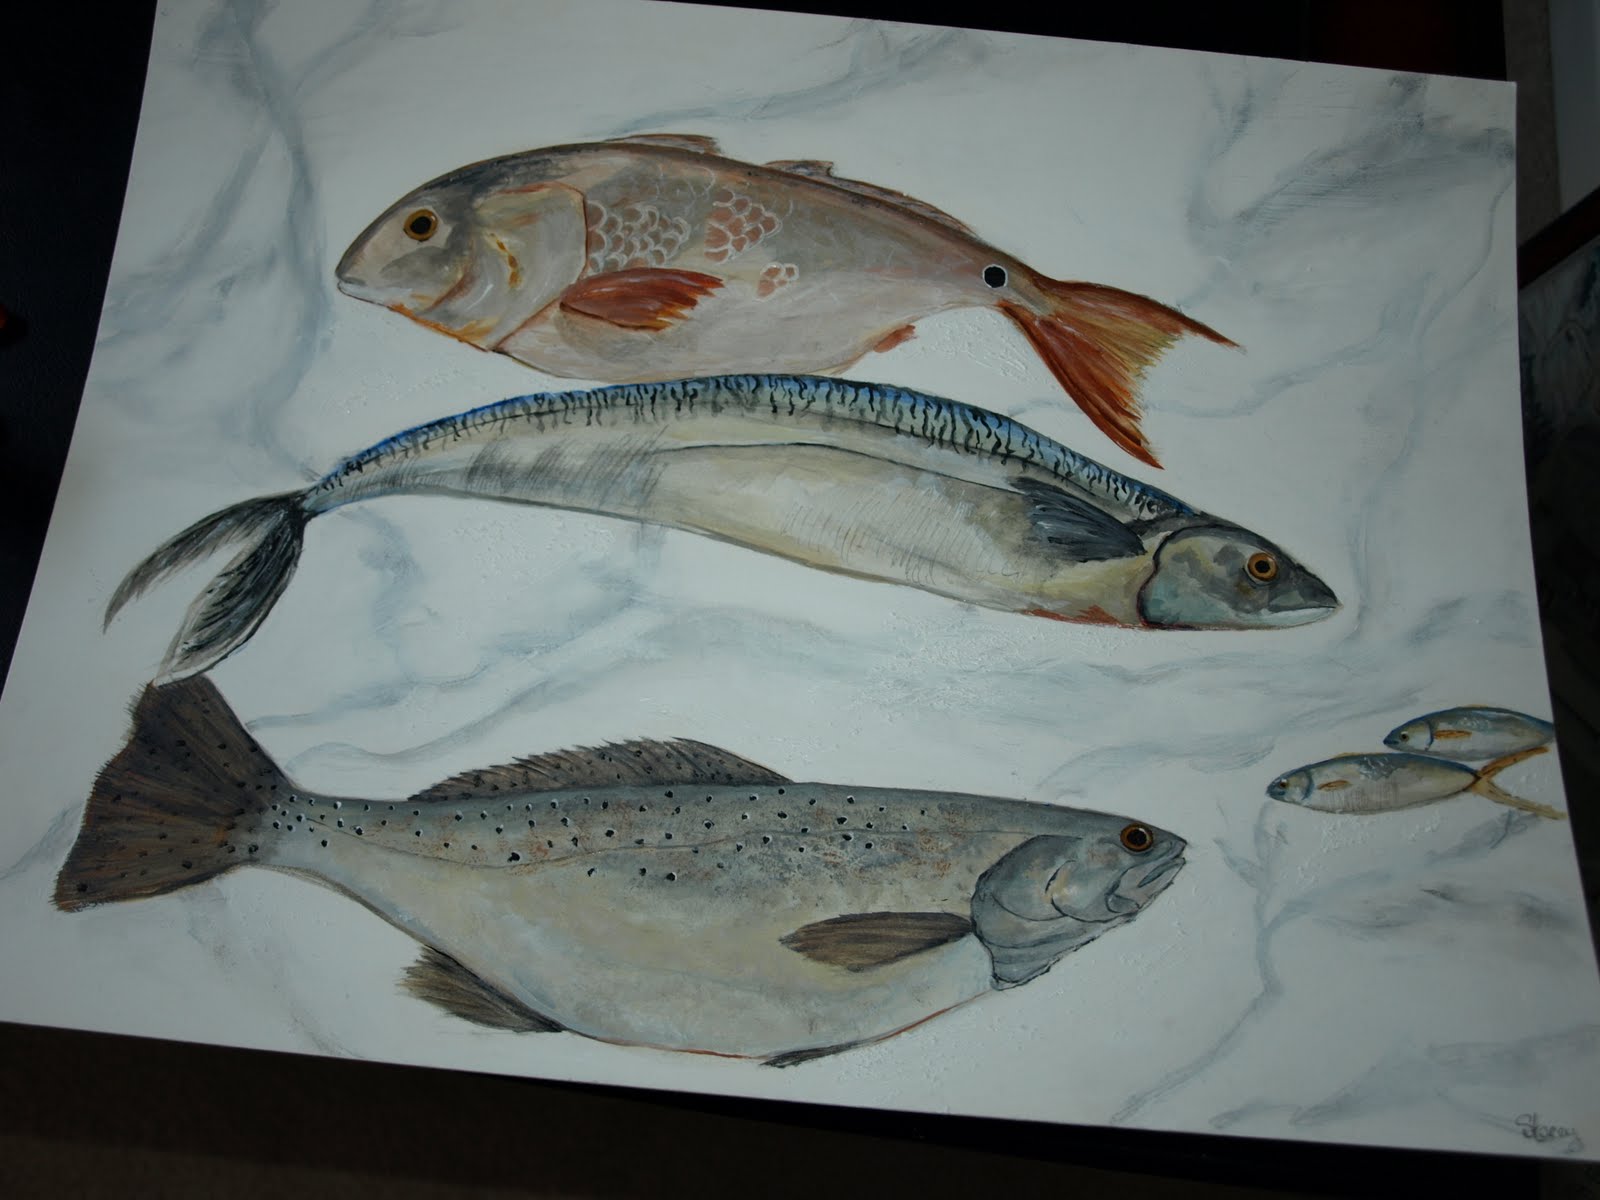
3. I can catch and fillet a fish
Then fry it up for a yummy fried fish dish.


2. Work hard to become, work hard for your dreams
Believe it or not, they're always closer than it seems.


And, finally, #1 is family is always 1st because they are your heart and home
And right or wrong they've got your back and you're never alone.


My Dad and I are so different - not too much the same
Now that I'm married, I even have a different last name.


You play piano - I sing a song


You sport a comb-over, my hair is long.


You're my Daddy and I'll always be your baby girl

Now I pause cuz I can't think of any more.

You are strong and so am I
We're both friendly and also shy
You believe in me and I in you
You have a temper and me too
Both of us favor the color blue
Blue like the eyes we also share
And, Hey! We also have the same color hair
You are competative just like me
We can both plan trips to a tee
When we play, we both want to win the game
Not so many differences when we're so much the same.


And, there's one thing more that I know is true
and, that's that I know you're proud of me and I of you.


Happy Father's Day, Dad! I love you!

My Dad's new painting

My Dad loves fishing and taught me to be a little fisher lady as well. His birthday is tomorrow and of course, Father's Day is the following day, and I wanted to make something special for him, because he always said homemade gifts mean so much more than store bought gifts! So, for his birthday, I painted a picture of his favorite salt water fish as well as a couple of fancy ones:)

I call it "Catch of the Day"


I hope he likes it!!